


10 Effective Ways to Fix Your Headset with Mic Not Working
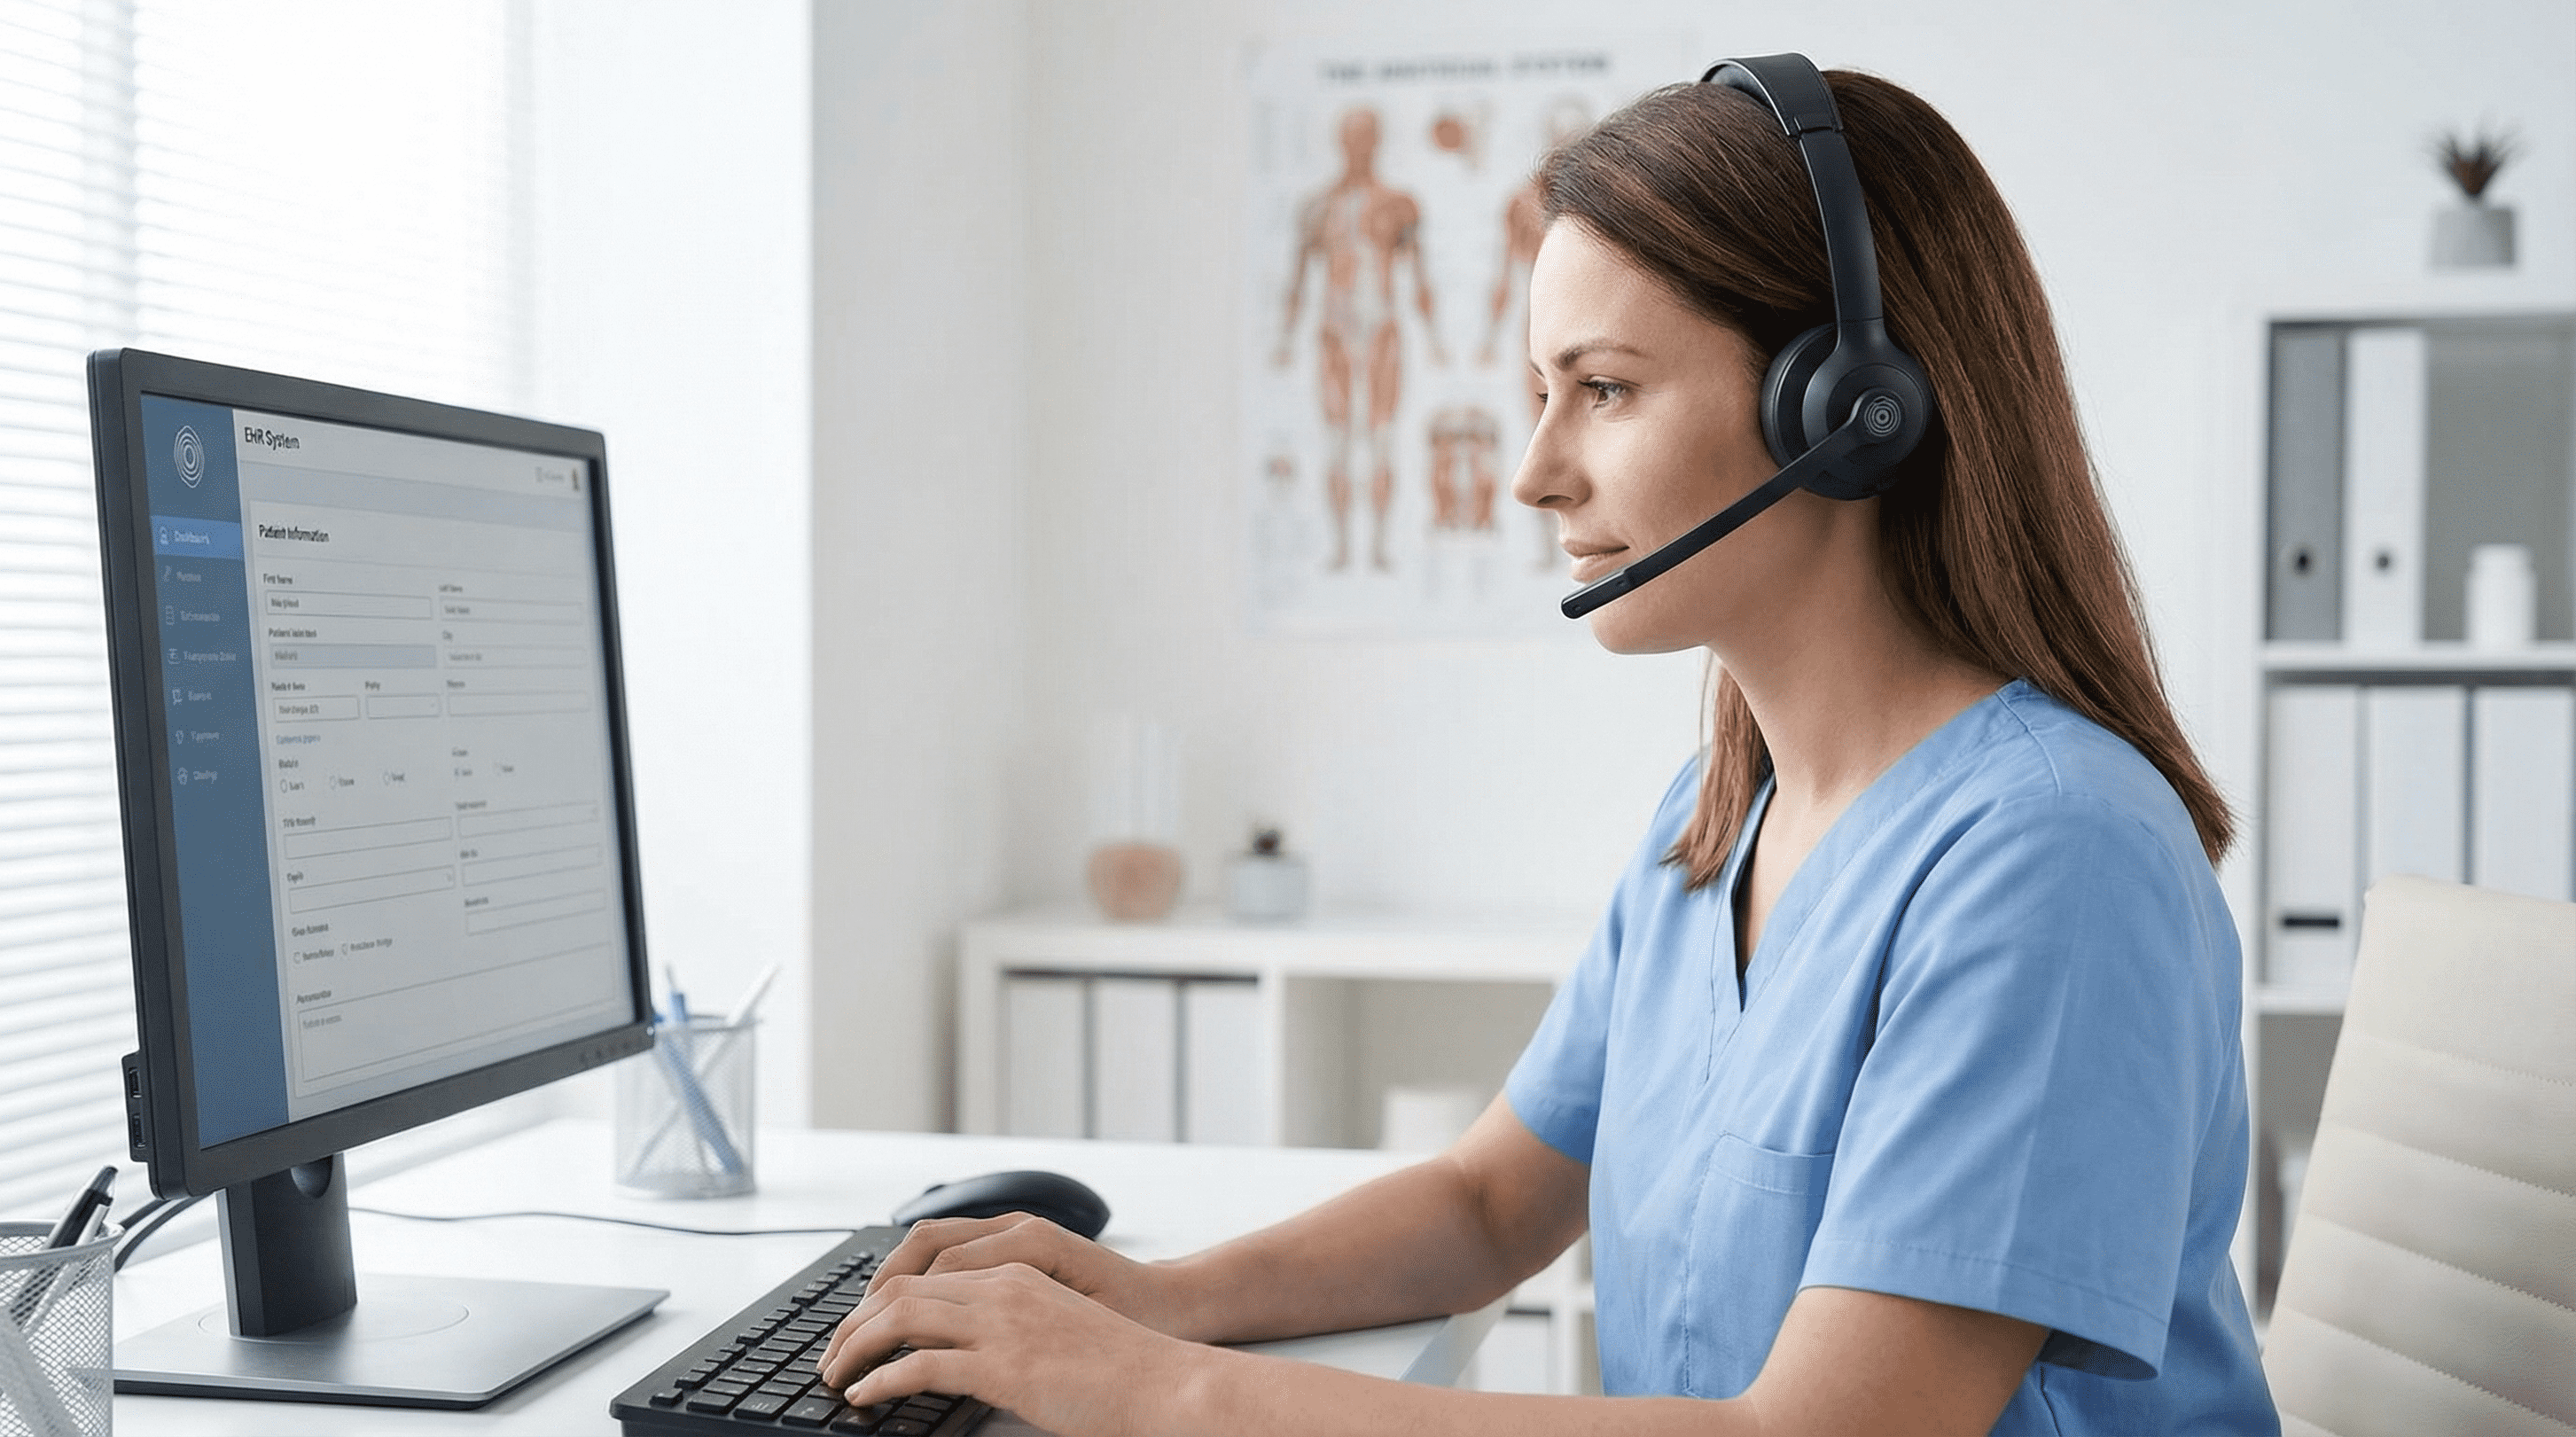
Headset microphones often malfunction, causing frustration and communication breakdowns. Fixing these issues is crucial for maintaining productivity and ensuring clear conversations. A functional headset with a mic enhances the quality of virtual meetings and online gaming sessions.
In this article, you will learn 10 effective ways how to fix your headset with a mic not working and the best headset with a mic this 2024.
1. Check the Physical Connections of Your Headset with Mic
Inspect the Headset Jack
Ensure Proper Insertion
A loose connection often causes microphone issues. Push the headset jack firmly into the port. A secure fit ensures proper functioning.
Look for Damage or Debris
Examine the headset jack for visible damage. Dirt or debris inside the port can disrupt connections. Clean the jack gently with a soft brush or compressed air.
Verify USB or Bluetooth Connection
Reconnect the Device
For USB headsets, unplug and replug the device. For Bluetooth headsets, disconnect and reconnect through the device settings. This action often resolves minor connectivity issues.
Check for Interference
Electronic devices near the headset can cause interference. Move the headset away from other electronic devices. Ensure a clear line of sight for Bluetooth connections to maintain signal strength.
2. Adjust Sound Settings
Access Sound Control Panel
Select the Correct Input Device
Open the Sound Control Panel on the computer. Navigate to the "Recording" tab. Locate the headset microphone in the list of devices. Right-click the headset microphone and select "Set as Default Device." This action ensures that the system prioritizes the headset mic for recording.
Adjust Microphone Levels
In the same "Recording" tab, click on the headset microphone. Select "Properties" and go to the "Levels" tab. Adjust the microphone volume slider to an appropriate level. Ensure the microphone is not muted. Click "Apply" and then "OK" to save the changes.
Test the Microphone
Use Built-in Testing Tools
Return to the "Recording" tab in the Sound Control Panel. Speak into the microphone and observe the green bars next to the device name. The bars should move in response to the voice. This visual feedback confirms that the microphone is picking up sound.
Record and Playback Audio
Use a simple recording application like Voice Recorder on Windows. Open the app and start a new recording. Speak clearly into the microphone for a few seconds. Stop the recording and play it back. Listen for clarity and volume. If the audio sounds clear, the microphone settings are correct.
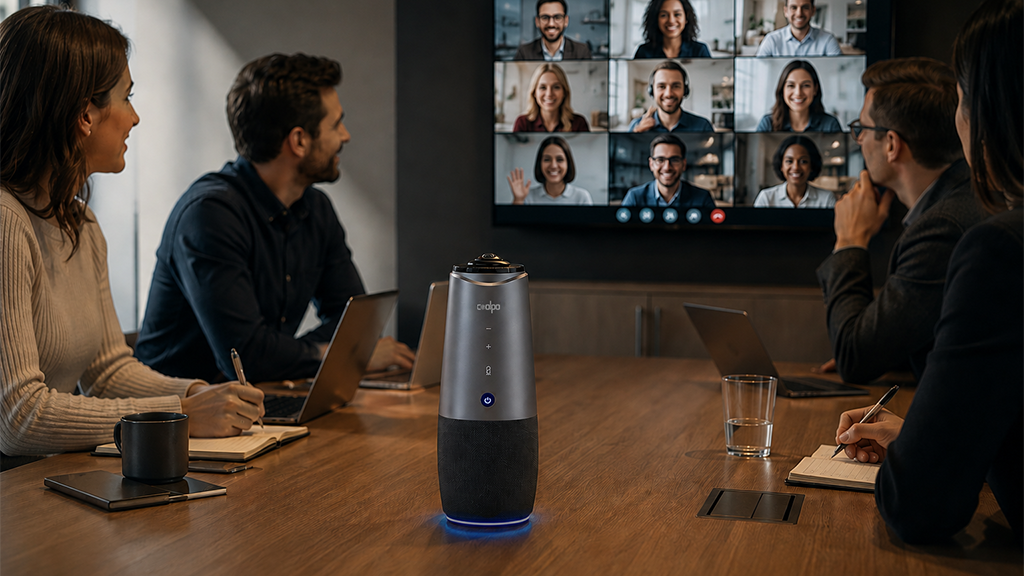
The Best Headset with Mic: Coolpo Ignite Headset
The Coolpo Ignite Headset is one of the best headsets with a mic this 2024 because of its superb quality and features. It has AI Noise-Canceling Microphones, Soft Leather Ear Pads, and Easy Microphone Controls. Also, it is multifunctional and compatible with all mainstream video conferencing platforms and devices.
It is priced at $70. Check this out now! Purchase here.
3. Update Audio Drivers
Identify Your Audio Device
Check Device Manager
Open the Device Manager on the computer. Locate the "Sound, video, and game controllers" section. Expand this section to see the list of audio devices. Identify the headset or microphone from the list.
Note the Manufacturer and Model
Take note of the manufacturer and model of the audio device. This information is essential for finding the correct driver updates. Write down these details for reference.
Download and Install Updates
Visit Manufacturer's Website
Go to the manufacturer's website. Navigate to the support or downloads section. Search for the audio device using the previously noted manufacturer and model details. Find the latest driver update available for the device.
Follow Installation Instructions
Download the driver update file from the manufacturer's website. Open the downloaded file and follow the on-screen instructions to install the update. Restart the computer after the installation is completed. This step ensures that the new drivers take effect and the microphone functions correctly.
Updating audio drivers can resolve many microphone issues. Regular updates help avoid performance problems and introduce new features. Keeping drivers up-to-date ensures optimal performance of the headset and microphone.
4. Check for Software Conflicts
Close Unnecessary Applications
Identify Resource-Heavy Programs
Open the Task Manager on the computer. Look for applications that consume a lot of system resources. High CPU or memory usage can interfere with the headset microphone.
Use Task Manager to End Tasks
Select the resource-heavy programs in the Task Manager. Click on "End Task" to close these applications. Closing unnecessary programs can free up resources and improve microphone performance.
Update Communication Software
Ensure the Latest Version is Installed
Check the communication software for updates. Open the application and navigate to the settings or help section. Look for an option to check for updates. Install any available updates to ensure compatibility with the headset microphone.
Reinstall if Necessary
If updating does not resolve the issue, consider reinstalling the software. Uninstall the current version from the computer. Download the latest version from the official website. Follow the installation instructions to complete the process. Reinstalling can fix bugs and restore proper functionality.
5. Test on Another Device

Connect the Headset with a Mic to a Different Computer or Phone
Verify Compatibility
Connect the headset with the mic to another computer or phone. Ensure compatibility with the new device. Check if the microphone works correctly. Compatibility issues can sometimes cause the microphone to malfunction.
Check for Similar Issues
Observe if similar issues persist on the new device. If the microphone still does not work, the problem might lie within the headset itself. Identifying consistent problems across multiple devices helps pinpoint the root cause.
Determine if the Problem is with the Headset or the Original Device
Compare Performance
Compare the performance of the headset with a mic on different devices. Note any differences in sound quality or microphone functionality. A working microphone on one device but not another indicates an issue with the original device.
Note Any Differences
Take note of any differences in microphone behavior. For instance, a microphone that works on a mobile phone but not on a PC suggests a configuration issue with the PC. Documenting these observations aids in troubleshooting and resolving the problem effectively.
6. Check for Hardware Issues
Inspect the Microphone
Look for Physical Damage
Examine the microphone for any visible signs of damage. Cracks, dents, or loose parts can affect performance. A damaged microphone often fails to pick up sound correctly.
Test with Another Microphone
Connect a different microphone to the device. This test helps determine if the issue lies with the original microphone. A working alternative microphone indicates a problem with the original one.
Examine the Headset Cable
Check for Frays or Breaks
Inspect the headset cable for any frays or breaks. Damaged cables can interrupt the signal between the microphone and the device. A thorough check ensures that the cable is intact.
Test with a Different Cable
Use a different cable to connect the headset to the device. This step helps identify if the original cable is faulty. A functioning alternative cable suggests that replacing the original cable may resolve the issue.
7. Configure Privacy Settings
Access Privacy Settings on Your Device
Allow Microphone Access
Open the Settings menu on the device. Navigate to the Privacy section. Select Microphone from the list of options. Ensure that the toggle switch for microphone access is turned on. This action allows the device to use the microphone.
Adjust App Permissions
Scroll down within the Microphone settings. Locate the list of apps that have requested microphone access. Turn on the toggle switches for the apps that need microphone functionality. This step ensures that specific applications can use the microphone.
Verify Settings in Communication Apps
Check App-Specific Permissions
Open the communication app that requires microphone access. Navigate to the app's settings or preferences menu. Look for an option related to audio or microphone settings. Ensure that the app has permission to use the microphone. This verification helps the app function correctly.
Ensure Microphone is Enabled
Within the app's audio settings, check if the microphone is enabled. Look for an option to select the input device. Choose the headset microphone from the list of available devices. Confirm that the microphone is not muted within the app. This configuration ensures that the app uses the correct microphone for communication.
8. Perform a System Restore
Backup Important Data
Use External Storage
Save important files to an external storage device. Options include USB drives, external hard drives, or cloud storage services. This step ensures that no data will be lost during the system restore process.
Ensure All Files are Safe
Double-check that all critical documents, photos, and other files have been backed up. Verify that the backup is complete and accessible. This precaution prevents any accidental loss of valuable information.
Restore to a Previous Point
Access System Restore
Open the Control Panel on the computer. Navigate to the System and Security section. Select System and then click on System Protection. Choose the System Restore option to begin the process.
Follow On-Screen Instructions
A wizard will guide you through the steps to restore the system. Select a restore point from a date when the microphone functioned correctly. Follow the on-screen instructions to complete the restoration. The computer will restart to apply the changes.
Performing a system restore can resolve software-related issues affecting the headset microphone. This method reverts the system to a previous state, potentially fixing configuration problems. Always ensure data safety before proceeding with a system restore.
9. Reset Audio Settings
Access Audio Settings
Restore Default Settings
Open the Sound Control Panel on the computer. Navigate to the "Playback" tab. Right-click the default playback device and select "Properties." Go to the "Advanced" tab and click "Restore Defaults." This action resets the audio settings to their original state.
Reconfigure as Needed
After restoring defaults, navigate to the "Recording" tab. Right-click the headset microphone and select "Properties." Adjust the settings in the "Levels" and "Advanced" tabs as needed. Ensure the microphone volume is set to an appropriate level.
Test the Microphone Again
Use Built-in Testing Tools
Return to the "Recording" tab in the Sound Control Panel. Speak into the microphone and observe the green bars next to the device name. The movement of the bars indicates that the microphone picks up sound.
Record and Playback Audio
Open a recording application like Voice Recorder on Windows. Start a new recording and speak clearly into the microphone. Stop the recording and play it back. Listen for clarity and volume to confirm the microphone works correctly.
10. Seek Professional Help
Contact Manufacturer Support
Provide Detailed Information
Gather all relevant details about the headset and microphone issue. Include information such as the model number, purchase date, and a description of the problem. Visit the manufacturer's support website to find contact options.
Follow Their Troubleshooting Steps
Follow the troubleshooting steps provided by the manufacturer. These steps often include resetting the device, updating firmware, or performing specific tests. Adhering to these instructions can resolve many common issues.
Visit a Repair Shop
Find a Reputable Technician
Search for a reputable technician or repair shop in the local area. Look for reviews and ratings to ensure quality service. A skilled technician can diagnose hardware issues that may not be apparent.
Get a Professional Diagnosis
Bring the headset to the chosen repair shop. Explain the microphone issue in detail. The technician will perform a thorough examination and provide a professional diagnosis. This step helps identify any underlying problems that require specialized repair.
Seeking professional help ensures that the headset and microphone receive expert attention. Manufacturer support and qualified technicians offer solutions that may not be available through basic troubleshooting.
In conclusion, a working headset microphone ensures clear communication and enhances productivity. The ten solutions provided address common issues and offer practical fixes. Users should try these steps to resolve microphone problems independently. Sharing experiences or additional tips in the comments can help others facing similar challenges.
Do you need a headset with noise cancelling microphone? Purchase your Ignite Headset today.
Recent blogs
.jpg)


%20(3).jpg)
Reliable
Innovation
Touch


